Retro Faded Look
I did some research on retro effects. Many of my tests involved a stack of multiple Adjustment Layers. After an intesive trail-and-error experiment day I found an easier way to give a Photo a Retro feel. This effect is made with just one Adjustment Layer. I've included the near end of my search for an easier way with two Adjustment Layers.
One Layer: Curves.
The Curves Adjustment Layer is a great way to give a Photo a certain look. An easy way to describe the retro feel is that the blacks are brighter and the whites darker. This gives the faded low contrast. To do this with the curve is to bring the black upwards and the white downwards.
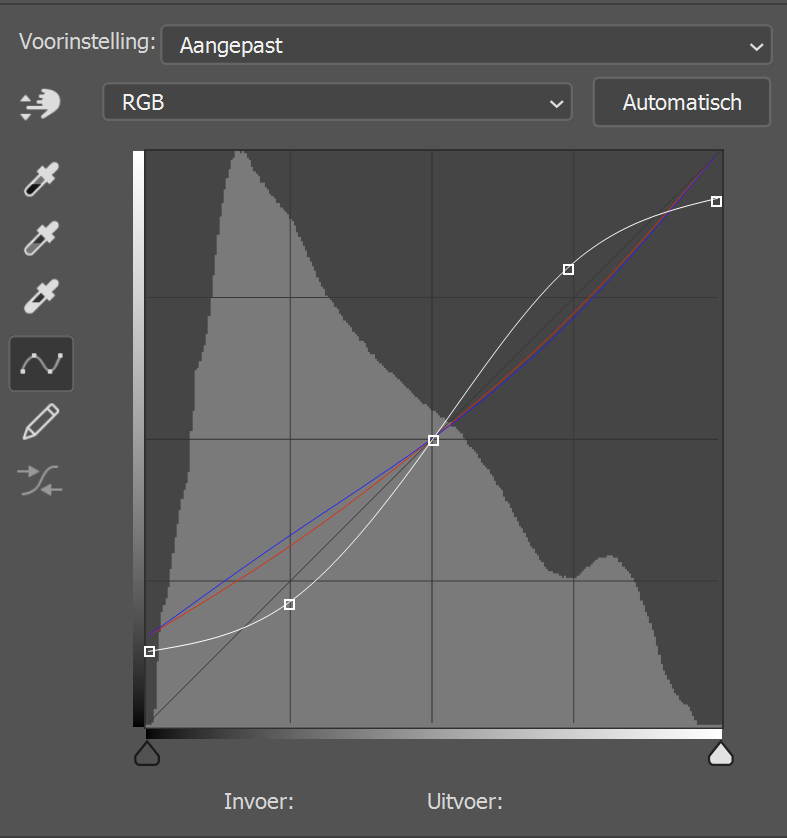
The Middle stays were it is: the Midtones remain. The Two other handles are moved to bring a bit more contrast back. If we would move the handles toward a flat line, it would give the Photo a more flat look.
After these changes in the RGB-Curve, the Photo looks quite good.
We're going to change the Color-Curves too. These changes are up to you and the Photo you choose to change.
The Blue-Curve: To give the Blacks and Shadows a Blue feel we move these handles upward.
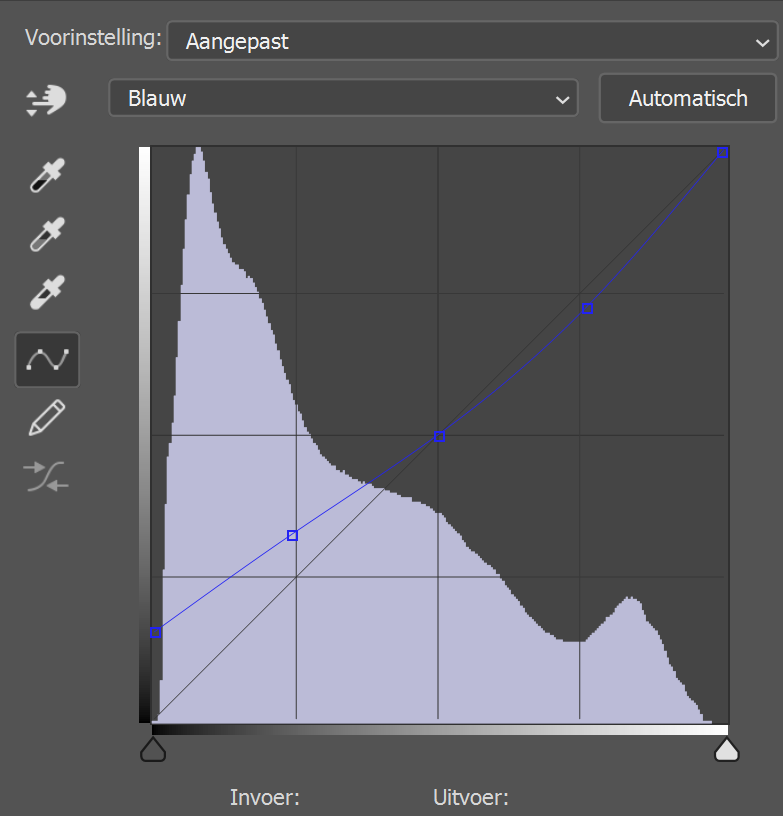
To give the Highlights a more warmer feel we move this handle downwards. This adds the opposite color from Blue, which is Yellow.
After these changes in the RGB-Curve, the Photo looks quite good.
We're going to change the Color-Curves too. These changes are up to you and the Photo you choose to change.
The Blue-Curve: To give the Blacks and Shadows a Blue feel we move these handles upward.
To give the Highlights a more warmer feel we move this handle downwards. This adds the opposite color from Blue, which is Yellow.
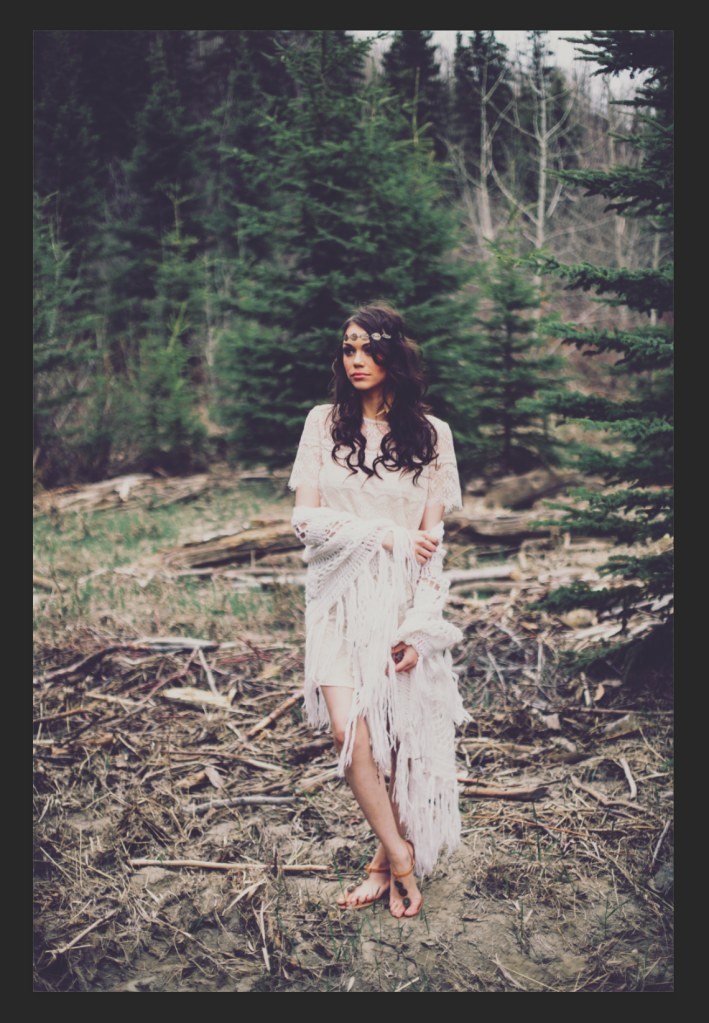
Again, the Photo looks quite good. So the next change is up to you.
The Red-Curve: this adds a Magenta tone. You can even change the Green-Curve. As I did in the example under this article.
Two Layers: Hue/Saturation Adjustment Layer.
So now we're going to shift the colors. For example the reds toward orange, etc.
We do this with the Hue/Saturation Adjustment Layer. But do this with caution so we protect skin tones.
Gallery.
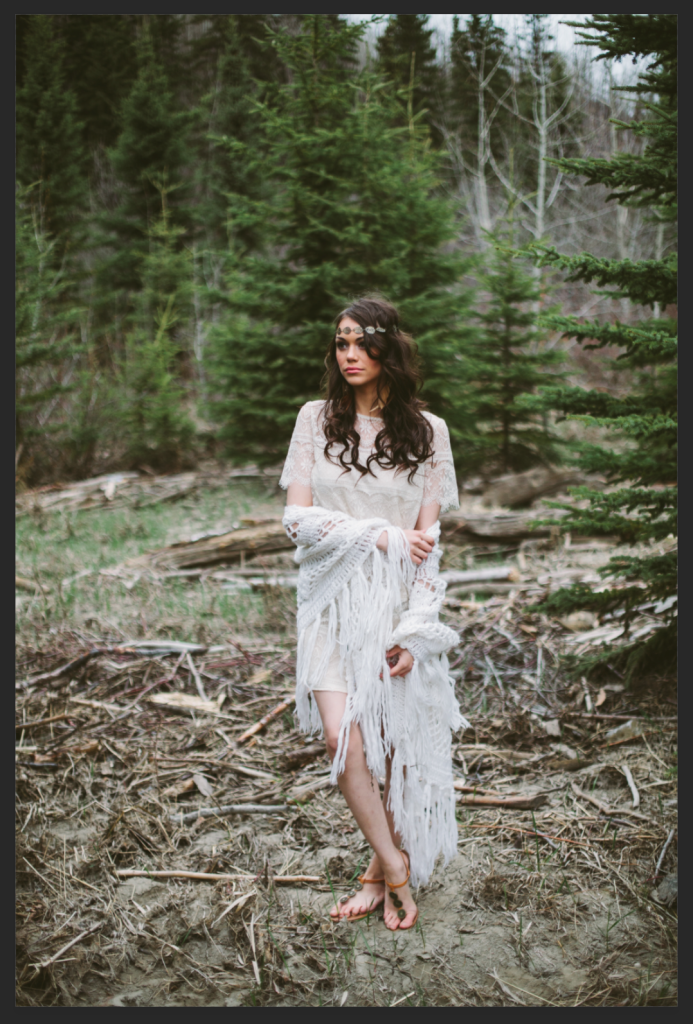 |
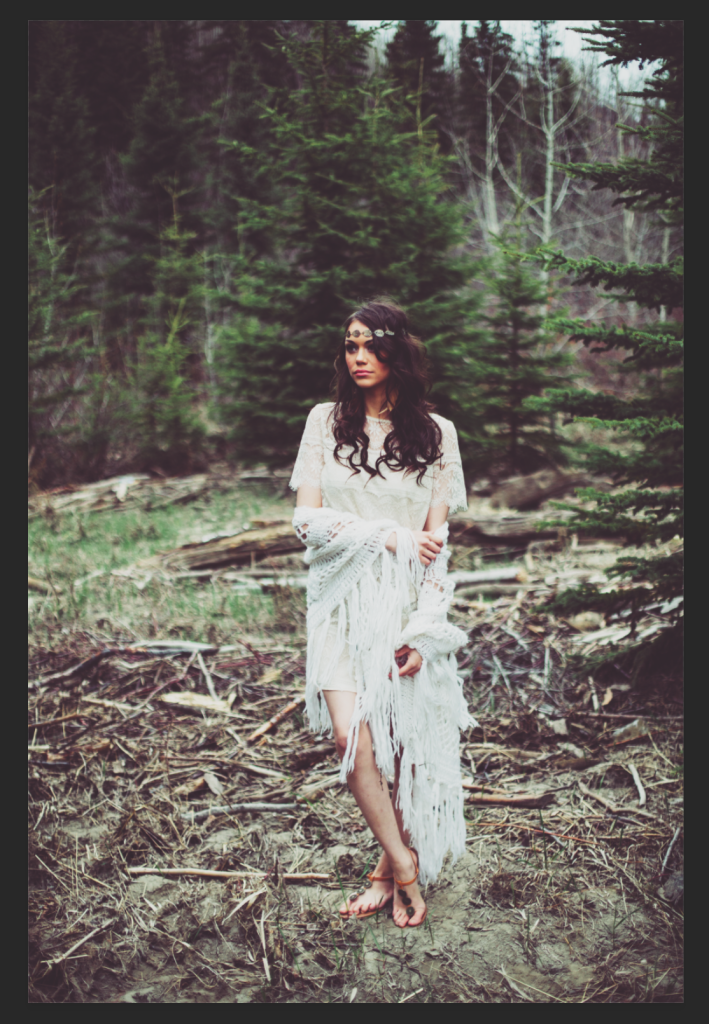
| Original Photo |


Reacties
Een reactie posten